Sunday, January 9, 2011

My 2010 Christmas Card


I would like to share with you my 2010 Christmas Card. I was not able to create cards last year, since my Uncle was in a car accident in November and was laid to rest on Christmas Eve. Even though I would take my supplies and work on them while I would sit in the waiting room, they were never completed. So this year I wanted to make my cards special. I used the C1427 I Believe stamp set. There are alot of things I believe in: Love, Hope, Karma, and of course.....Santa!!! Without the jolly 'ole man, gifts could not be delivered to children all over the world. (Yes, I still Believe!)

Products used:
Creative Basics: Mistletoe
New England Ivy Cardstock
Cranberry Cardstock
Bamboo Cardstock
Chobolate Ink
Prismta Glitter
Bonding Memories Glue Pen
Opaques: Pearl
Cranberry Brads
Microtip Scissors
3-D Foam Tape
Originals:
Heartfelt Classic (pg. 71)
C1427 I Believe
D1388 Card Chatter - Christmas

Workshop Weekend: Christmas Cards

In December the Weekend Workshop was 12 Christmas Cards for $15.00. There were 3 designs (4 cards per design). We had a lot of deminsion on each card. They turned out fabulous, if I do say so myself!!!

The Reindeer Card:
Mistletoe Level 2 Paper Packet
New England Ivy Cardstock
Cranberry Cardstock
Colonial White Cardstock
Chocolate Ink
Cranberry Ink
Sparkles: Red
Opaques: Pearl
Sponge (for distressing)
Prisma Glitter
Bonding Memories Glue Pen
3-D Foam Tape
Sanding Kit
Microtip Scissors

Wishes: Just Right (pg. 39)
C1427 I Believe
B1361 Tannenbaum

The Scripture Card:
Mistletoe Level 2 Paper Packet
Creative Basics: Mistletoe Ribbon
Cocoa Cardstock
Cranberry Cardstock
Colonial White Cardstock
Chocolate Ink
Opaques: Mocha
Sponge (for distressing)
Sanding Kit

Wishes:
Sentiment Secured (pg. 78)
D1440 Everlasting Life

The Christmas Tree Card:
Mistletoe Level 2 Paper PacketCocoa Cardstock
Creative Basics: Mistletoe Ribbon
Cocoa Cardstock
Cranberry Cardstock
Colonial White Cardstock
Bamboo Textured Cardstock
Chocolate Ink
Olive Ink
Opaques: Pearl
Sparkles: Red
Sponge (for distressing)
Sanding Kit
Microtip Scissors

Wishes:
Down the Middle (pg. 35)
D1388 Card Chater - Christmas
B1361 Tannenbaum

Workshop Weekend: Flip Flaps

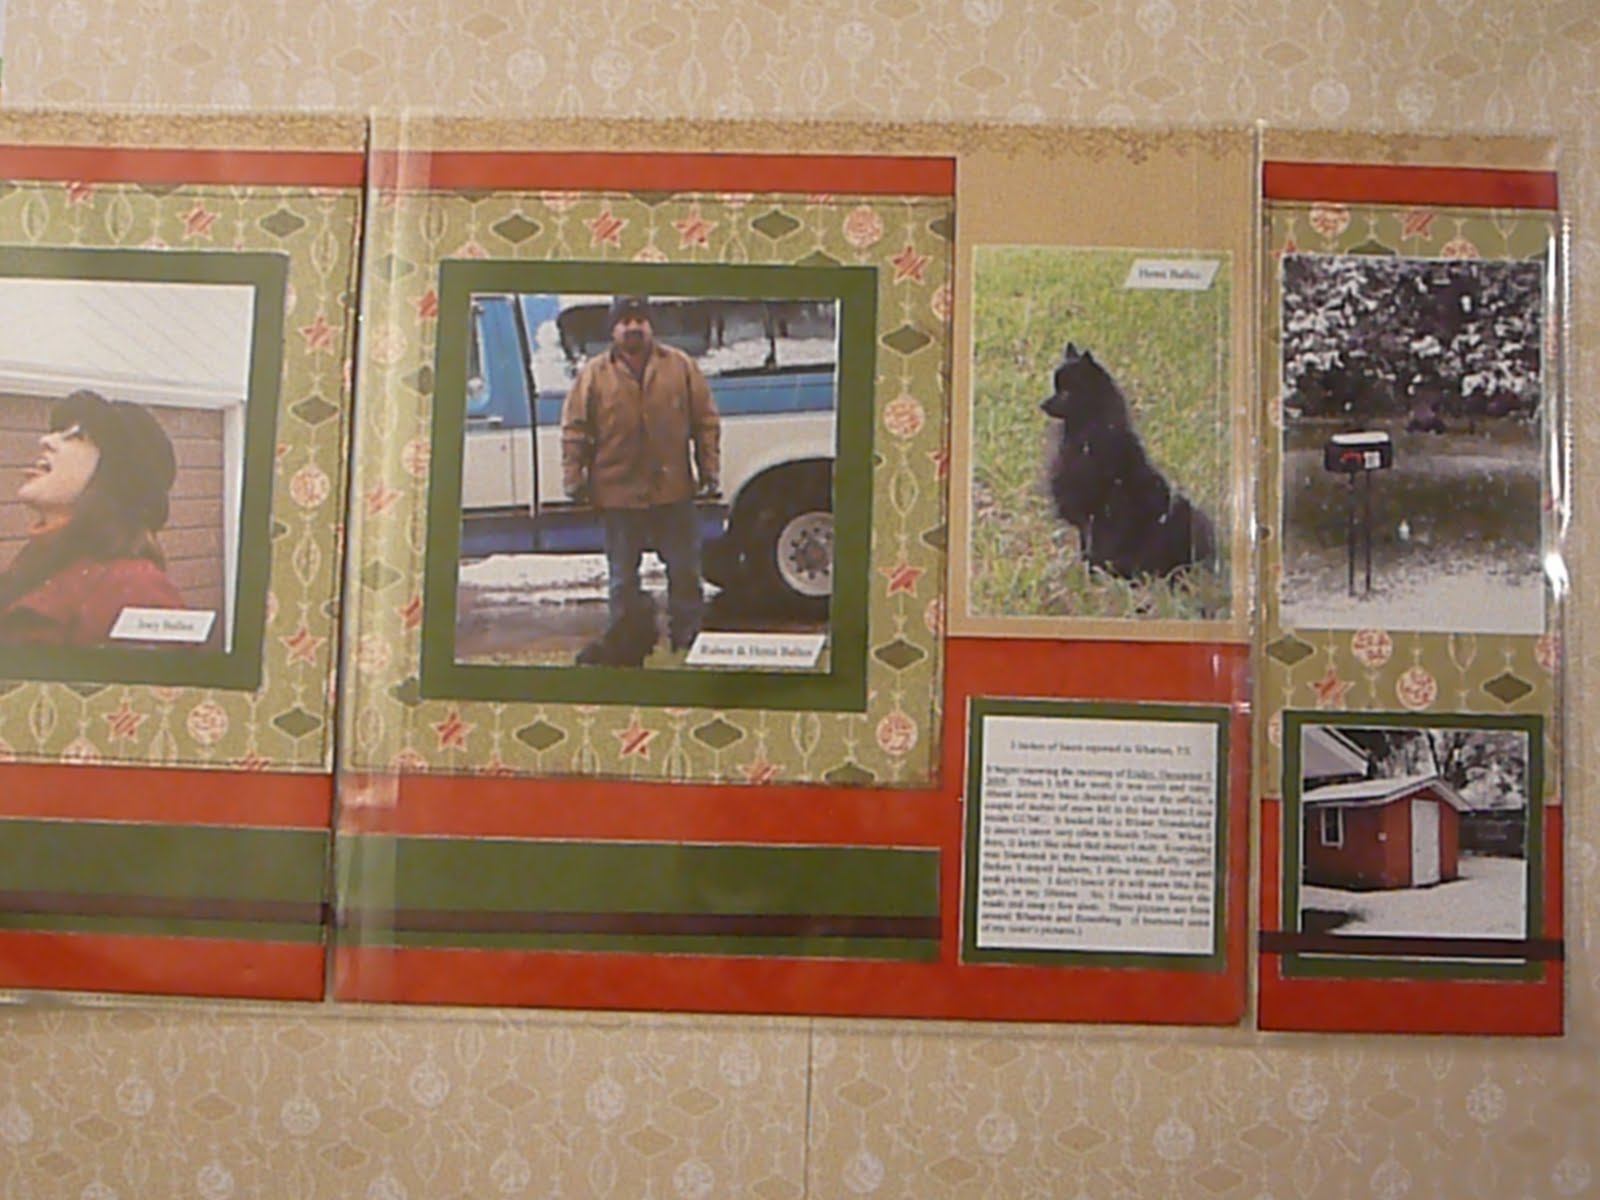
In November I held a Flip Flap Workshop. What are Flip Flaps, you are asking? They are Memory Protectors that you can attach to a 12x12 scrap page. The Flip Flaps have a stong adhesive that will endure the endless opening and closing of the a page. they come in 6x12; 4x12; and 8x12. You can use them in various combinations. We created 6 12x12 pages. When combined using the Flip Flaps, it will end up being 2 pages in your Memory Album.
This is the Right side. As you can see it looks like one page. But when opened it reveals 2 additional pages. One solid 12 x 12 with 6 inches on top and 6 inches on bottom.


This is the Left Side. Again it looks like one 12x12 page. But when opened it reveals 2 additional pages.


We even did a little sewing on each page!!!

Products Used:
Mistletoe Level 2 Paper Packet
EXCLUSIVE Mistletoe Workshop Kit:
Acrylix Stamp Set "All The Best"
Creative Basic: Mistletoe Collection
Bamboo Cardstock
New England Ivy Cardstock
Memory Protector Flip Flaps
Cocoa Grosgrain Ribbon
Opaques: Pearl
Mistletoe Level 2 Assortment
Sparkles: Red
Prisma Glitter
Bonding Memories Glue Pen
Cutting Knife
Versa mat
Chocolate Ink

Wednesday, October 20, 2010

October Hostess Club

For our October Hostess Club we will use the Workshop On The Go: Olivia Kit. I love this paper!! I added my own spin to the recommended layout. I added an interactive page. I needed more space for more pictures. If you will rememer, last month my Weekend Workshop was Interactive Pages: Hocus Pocus. This particular layout uses a "film strip". I modified the "film strip" technique to add a few more pictures to my layout.

I hope you can join me for our October Hostess Club!

Workshop Weekend: Mix & Mingle


This past weekend (10/16/2010 & 10/17/2010) I held my monthly Workshop Weekend. We completed Close To My Hearts newest My Creations addition: Mix & Mingle. This is a fun little 4 x 4 album that includes 3 clear and 5 chipboard pages. My workshop on both days was a HUGE success!! I have the best customers.

To show my appreciation for those that attended, I would like to offer $5 off the next workshop. All you need to do is mention that you visited my blog, saw the offer and I will give you $5 off. Don't we all like to save a little?!

The pictures I selected for this mini-album were pictures of my grandparents and my parents in their younger dayz! The scanned pictures had a vintage tint that I thought was perfect to coordinate with the Olivia My Reflections Level II paper pak. I had so much fun creating this mini-album!


Products Use:
Mix & Mingle
My Reflections Level II: Olivia
My Acrylix Stamp Set: The Present
Opaques: Mocha
Designer Ribbon Rounds: Chocolate
Designer Ribbon Rounds: Colonial White
Mini-Medley Accents Collection: Antiqued Copper
Barn Red Cardstock
Sunset Cardstock
Smoothie Cardstock
Barn Red Ink
Sponge
Liquid Glass

Wednesday, September 22, 2010

Season Premier Week!!


Who has favorite TV shows?

I have to admit, I have A LOT of them. I am glad that someone invented DVR. Without it, I would be glued to the TV (literally!)

I was very excited about my two favorite shows coming back (I have many, but these rank #1 and #2). My #1 show is Glee. I laugh at the silliness of the movie and I love the banter between Will Shuester and Sue Sylvester. I tune every week to see the Glee Club break out into song and dance and to hear the cracks Sue makes about Will's hair.


My #2 show is NCIS. I have to admit, I didn't watch this one beginning with the 1st season. I just recently fell in love with Gibbs, Abby, McGee, Ziva, and DeNozo. They make a great team!

I also watch: Supernatural (this is season 6, and it's last); Smallville (this is season 10, and it's last); Two and a Half Men; How I Met Your Mother; Vampire Diaries; NCIS LA; Criminal Minds; CSI NY and a couple more that I am forgetting!

What ever your favorite show may be, enjoy Premier Week!

Sunday, September 12, 2010

Workshop Weekend: Interactive Layout

Do you believe in Magic?
Have you gotten your hands on the Jeanette's newest "How To" book? It is awesome! I've looked through each page, hundreds of times! As I looked at each layout I realized I was ready to try creating one for myself!

When I saw my completed layouts, I knew what my next workshop would be! I wanted to teach you how to create a beautiful interactive layout with ease.
As you can see, these are 12 x 12 layouts in page protectors. They are fun and creative! But, if you look closely the film strips are hiding more pictures which tells my story to the fullest.


With one slight pull of a tab, I have more pictures to tell my story.


September Workshop Dates:
Saturday, September 18th @ 2:00 PM
Sunday, September 19th @ 2:00 PM
Cost: $20.00

We will create the Layout: Hocus Pocus. This particular layout will teach you hwo to turn a simple filstrip into a motion picture by adding sliding photos. For this workshop, I will prepare the pages to coordinate with your photos. So, if you plan on attending this fabulous workshop, please let me know what papers you would like to use. My layout uses Cherry-O. I will pre-cut the papers of your choice. It is very important that your RSVP by: Thursday, September 16th.

You will need to bring:
Three 5x7 photos
Seven to Nine 2 1/4 x 2 1/4 photos

Products Used:
Cherry-O Creative Basics
Sweet Leaf Textured Cardstock
Designer Ribbon Rounds: Colonial White
Cherry-O Opaques
Sparkles: Clear
Sparkles: Red, Pink and Purple Assortment
Just Blooms: Big Pinks
Alphabet Chip Board
Mini-Medley Accents: Tulip
3-D Foam Tape
Edge Anchors: Heritage
Memory Protectors
Cutting Knife
VersaMat
1/8 Inch Hole Punch
Liquid Glass
Piercing Tool Kit
Distressing Tools

Thursday, August 19, 2010

Weekend Workshop

Don't forget about my weekend workshop! I look forward to seeing you there
Published with Blogger-droid v1.5.3.1

Thursday, August 5, 2010

Clear Card Workshop Weekend

In August we will create 8 beautiful clear cards. There are 8 - 4 1/2 cards. 4 squares and 4 scalloped circles which includes cello envelopes. I drew my inspiration from the Wishes Card Confidence Program:

* All Tucked In
* Curtain Call
* Simply Secure
* Simple Statement


The Clear Card Workshop will be held as follows:

Date: Saturday, August 21, 2010
Time: 2:00 PM
Location: Joey's Scrap Room
Cost: $20.00

Date: Sunday, August 22, 2010
Time: 2:00 PM
Location: Joey's Scrap Room
Cost: $20.00

Space is limited so RSVP today.

Items Used:
C1408 Live Inspired Stamp Set
Z1309 Clear Cards
X7126B Passages Level II
Z1146 Designer Brads (Pewter)
Z1206 Basic Craft Buttons
Z1033 Big Pinks Paper Flowers
Z1336 Opaques Pearl
Z1266 Just Blooms Paper Flowers
Z1276 Colonial White Mini Medleys
N/A Cocoa Organdy Ribbon (discontinued)
Z1126 Designer Ribbon Rounds: Colonial White Collection
Z1127 Designer Ribbon Rounds: Chocolate Collection
Z1269 Filigree Charms
Z2108 Brown Bag Ink
Z2111 Chocolate Ink
Z1142 Brown Staz-On
Z534 Microtip Scissors
Z1114 Piercing Tool
Z1090 Foam Tools
Z1151 3-D Foam Tape
Z578 Corner Rounder
N/A 1 Inch Circle Punch
9033 Wishes Card Confidence Program

Tuesday, August 3, 2010

5 Years With CTMH!!

In June I received a small package from Close To My Heart. My first thought was "did I have product on back order?" I began searching the corners of my mind thinking that I had a customer waiting for their product. When I brought the package inside I literally ripped into the package tearing my letter. It was nice surprise to see that Close To My Heart was recognizing my achievement of being with the company for 5 year. April 16, 2010 I celebrated 5 years with Close To My Heart. I have really enjoyed the growth I have seen over the 5 years I have been with the company. I have seen the color palette change to keep trendy and fashionable. I was able to witness the transition from Wooden Mounted stamps to Acrylix Stamps. The birth and death of the Coluzzle cutting system and much, much more!!